Note, this article only applies if your domain is using our name servers. If your domain is pointing at third-party name servers (CloudFlare, Amazon Route53, Sucuri CloudProxy etc) then you will not be able to add custom zone file records here. You must make the edits in the zone file held at your domain's SOA (Start Of Authority) - for example, CloudFlare.
Sometimes, you will be asked by third-party organisations, such as Google, to add custom DNS records in order to, say, verify your domain for Google Search Console, or to verify your domain when setting up an email account with a third-party provider, such as Outlook or Google's G Suite. This article will cover the basics of adding custom records in your zone file.
1) Start off by logging in to cPanel: https://wpopt.net/knowledgebase/3/How-to-log-in-to-cPanel.html
2) Find the section entitled "Zone Editor" and click this.

3) Identify the domain you need to manage. If you have been asked to add a CNAME record then you can do so directly here, otherwise, simply click "Manage".

4) Here you will see a list of all the domain zone file records. These records effectively route all types of different traffic - email, web etc - to the required locations to ensure your site resolves correctly. Therefore, unless you are certain of what you are doing, it is not advised to delete records (however if you make a mistake, you can restore your zone file - you would follow the same basic procedure for restoring files, except instead of accessing the file restoration tool you would click on "Zone File Backups" in cPanel: https://wpopt.net/knowledgebase/27/Restoring-files-from-a-recovery-point.html).
Generally, when doing something like verifying your domain, you'll be asked to add a TXT record, so you can do this by selecting TXT from the dropdown menu
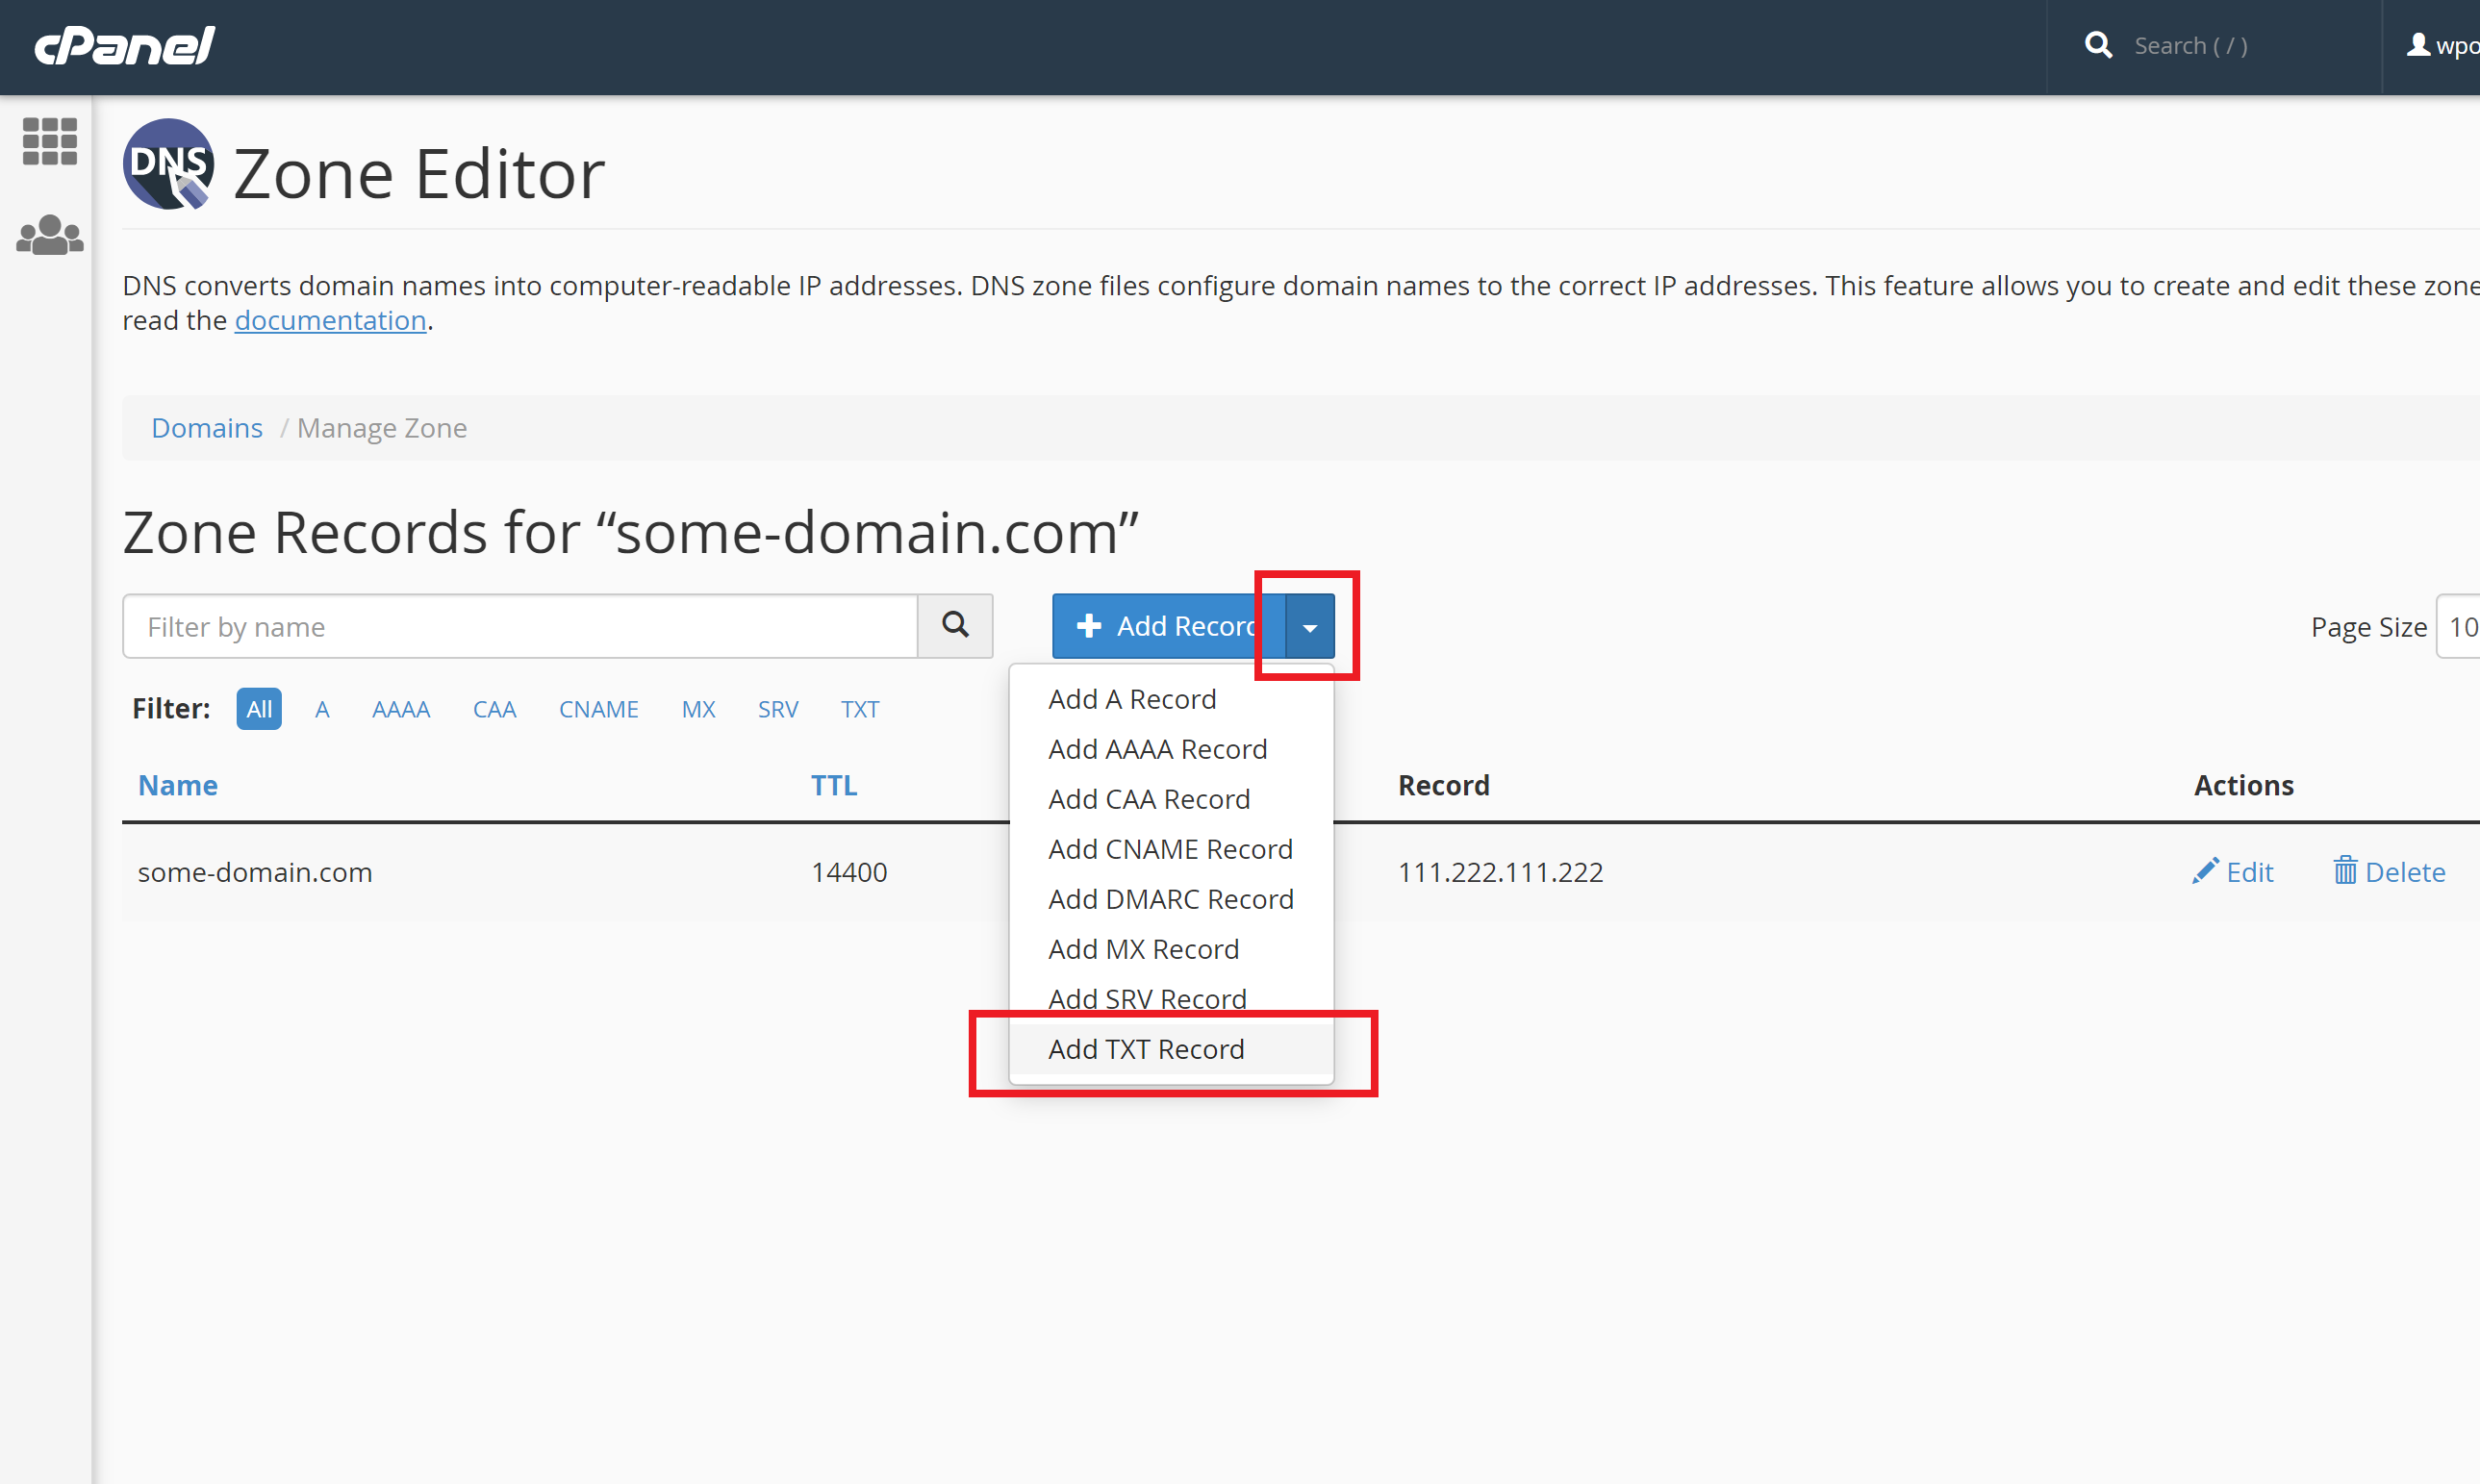
5) It is likely that the third-party service asking you to add the record will have given you a "Name" for the record and a "Value". Paste the value into the value / record box. For the name - if they are asking you to leave it blank or type in "@" then this will fail, because cPanel does not support that. What "@" means is that you must instead simply write your domain name (excluding "https://" and "www", as shown in the screenshot below)

6) Next, just click "Add Record". This is now complete and the record will be detectable soon after!