This article does not apply to customers with the following hosting plans wp-Budget unless you have acquired the relevant add-on.
A snapshot of your entire account is automatically made every 12 hours. In the event of loss or deletion of data, you can use these restore points to quickly and easily recover emails, files, databases, zone file entries, or cron jobs in just a few clicks. This article will explain how to restore files/folders, however the same concepts can be applied to any of the other features within the scope of the backup system.
Note: If you are restoring entire folders - at the present time, the backup system will revert your selected folder to the snapshot copy. It does not merge the folder with the existing "live" folder. This means that if you choose to restore a folder snapshot made on, for example, the 1st December, and have subsequently uploaded 10 images since this time, the changes made since the restore point will be lost.
For this reason, it is preferable to descend into the individual directories using the file browser in the restoration tool and only restore the files that need to be restored
1) Start off by logging in to cPanel - https://wpopt.net/knowledgebase/3/How-to-log-in-to-cPanel.html
2) You will see the backup / restoration features there under JetBackup. To restore files, click on the "File Backups" link
3) You will then see a number of restore points - approximately two per day. You can then click on the File Manager link to view the files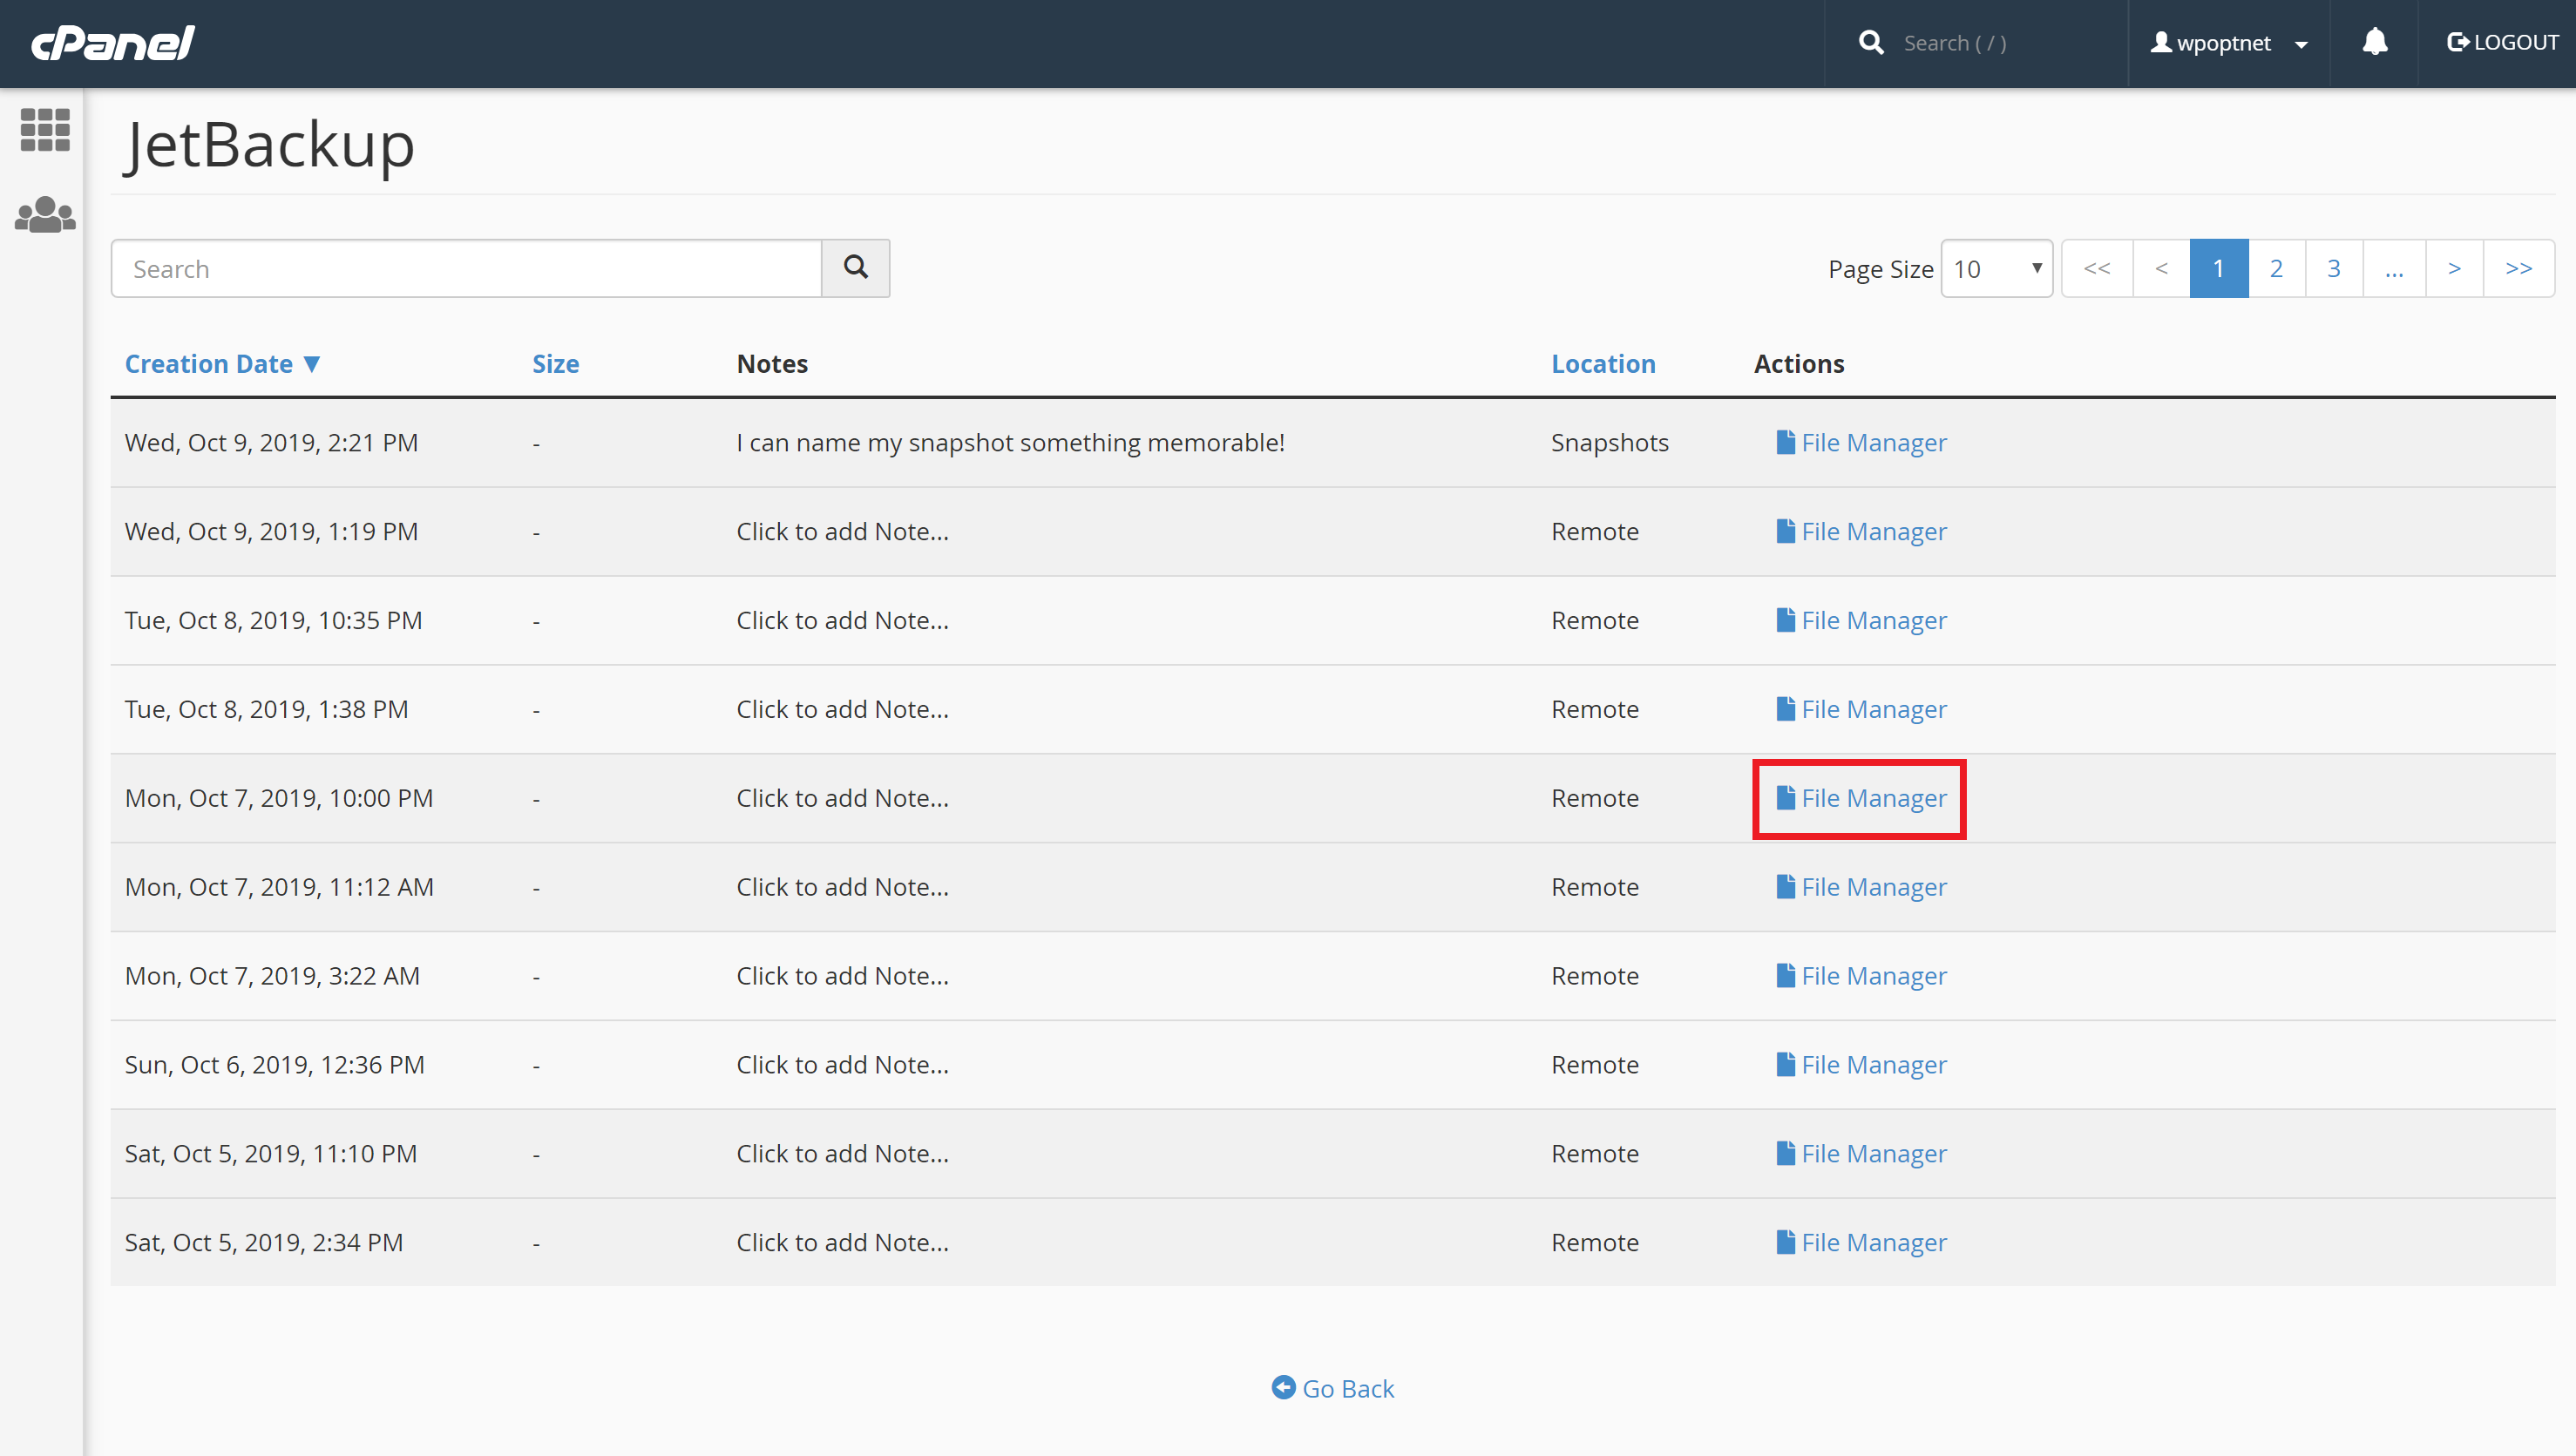
4) On the next page, you can select the files or folders to restore.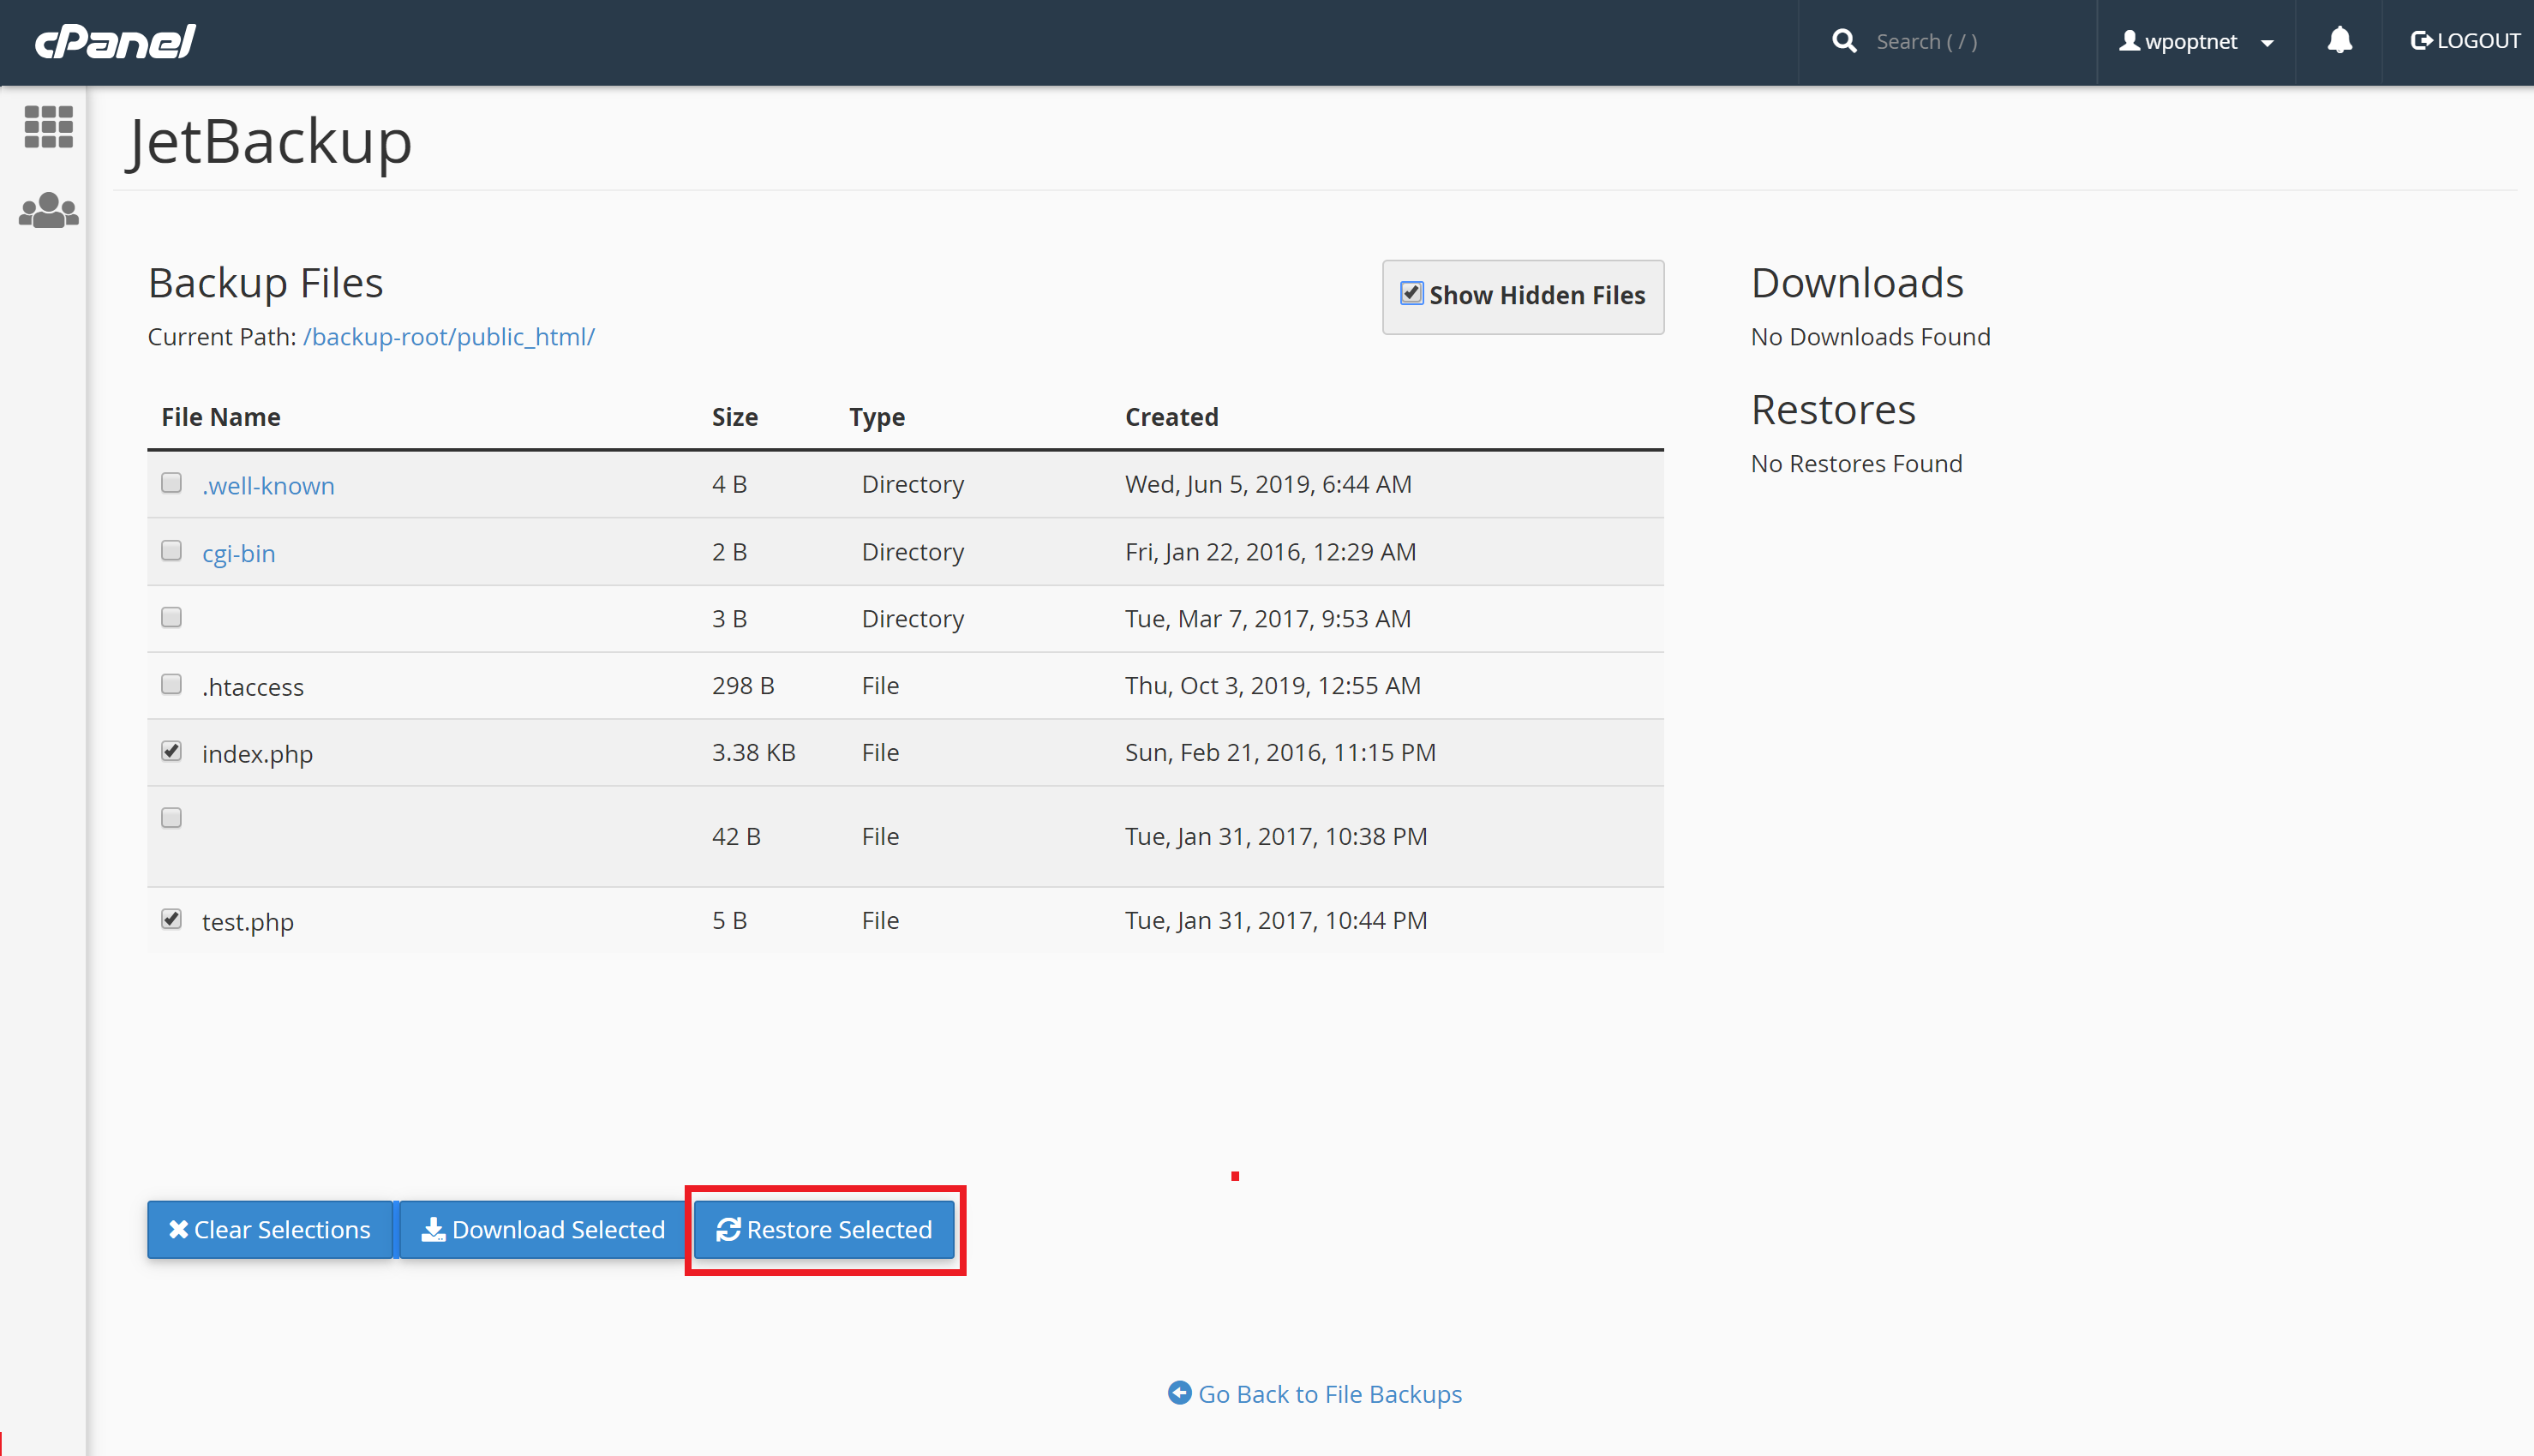
Note - It is not recommended to restore the entire "public_html" directory (i.e. selecting the singular "public_html" folder... selecting the files and folders from within this directory by themselves should be just fine). If your site writes to an error log file during the restoration process then the restoration can fail. Instead, it is preferable to descend into the directory and select the specific files/folders that you need to restore.
4) Click on "Restore Selected" and then click on "Add to Restore Queue".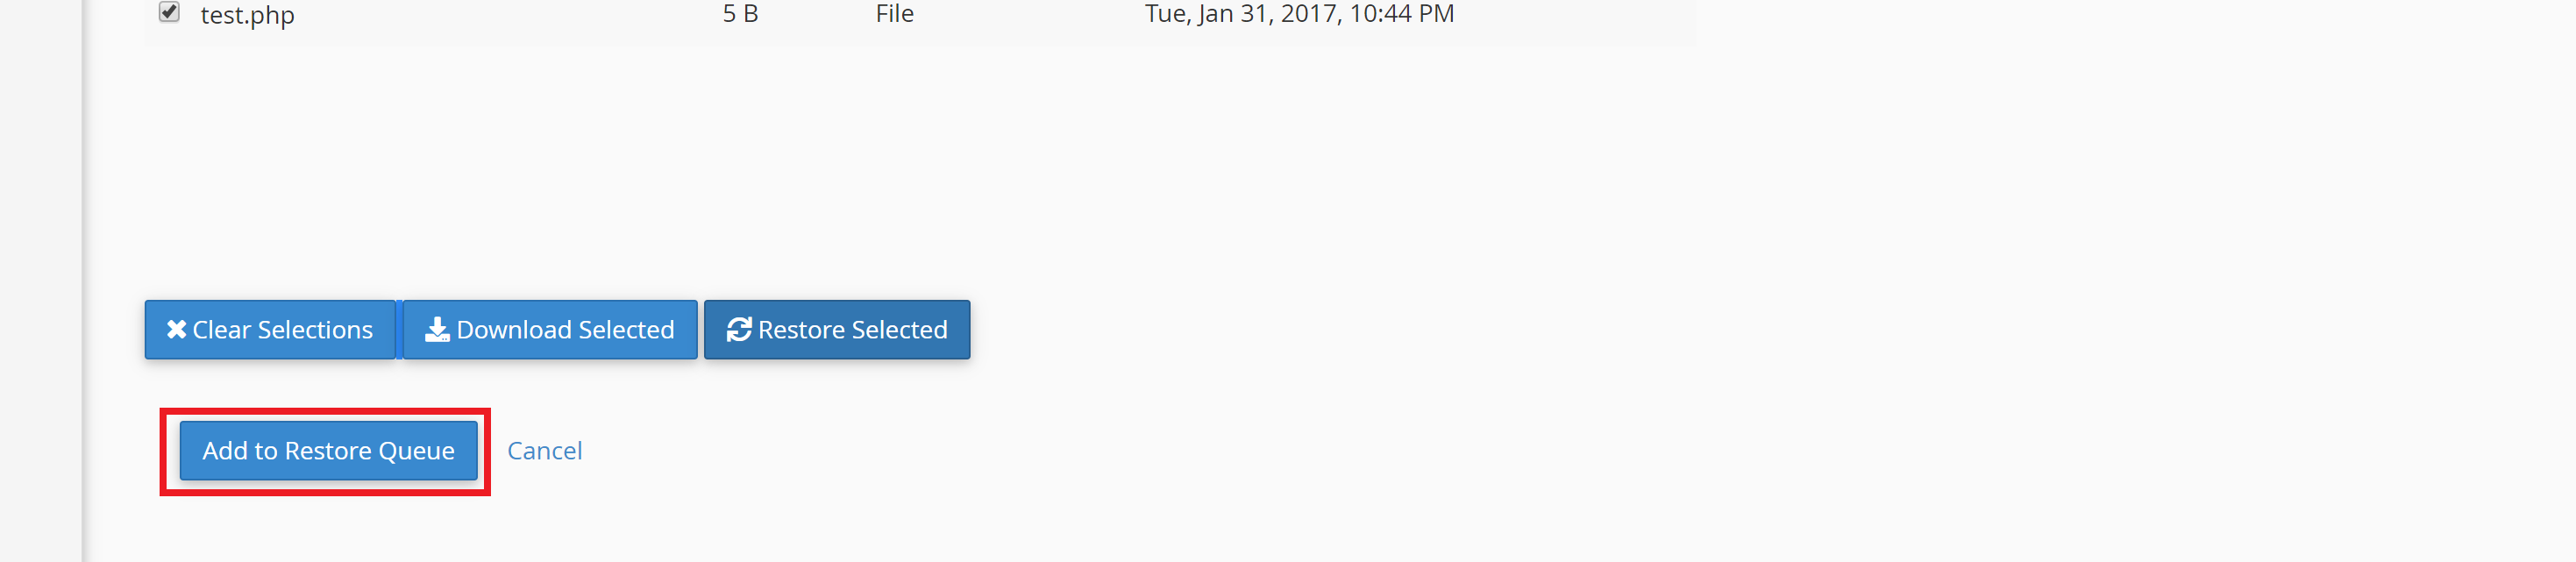
5) Your request will then be queued and will begin shortly after. Note that you can view the status in the queue, via the link in cPanel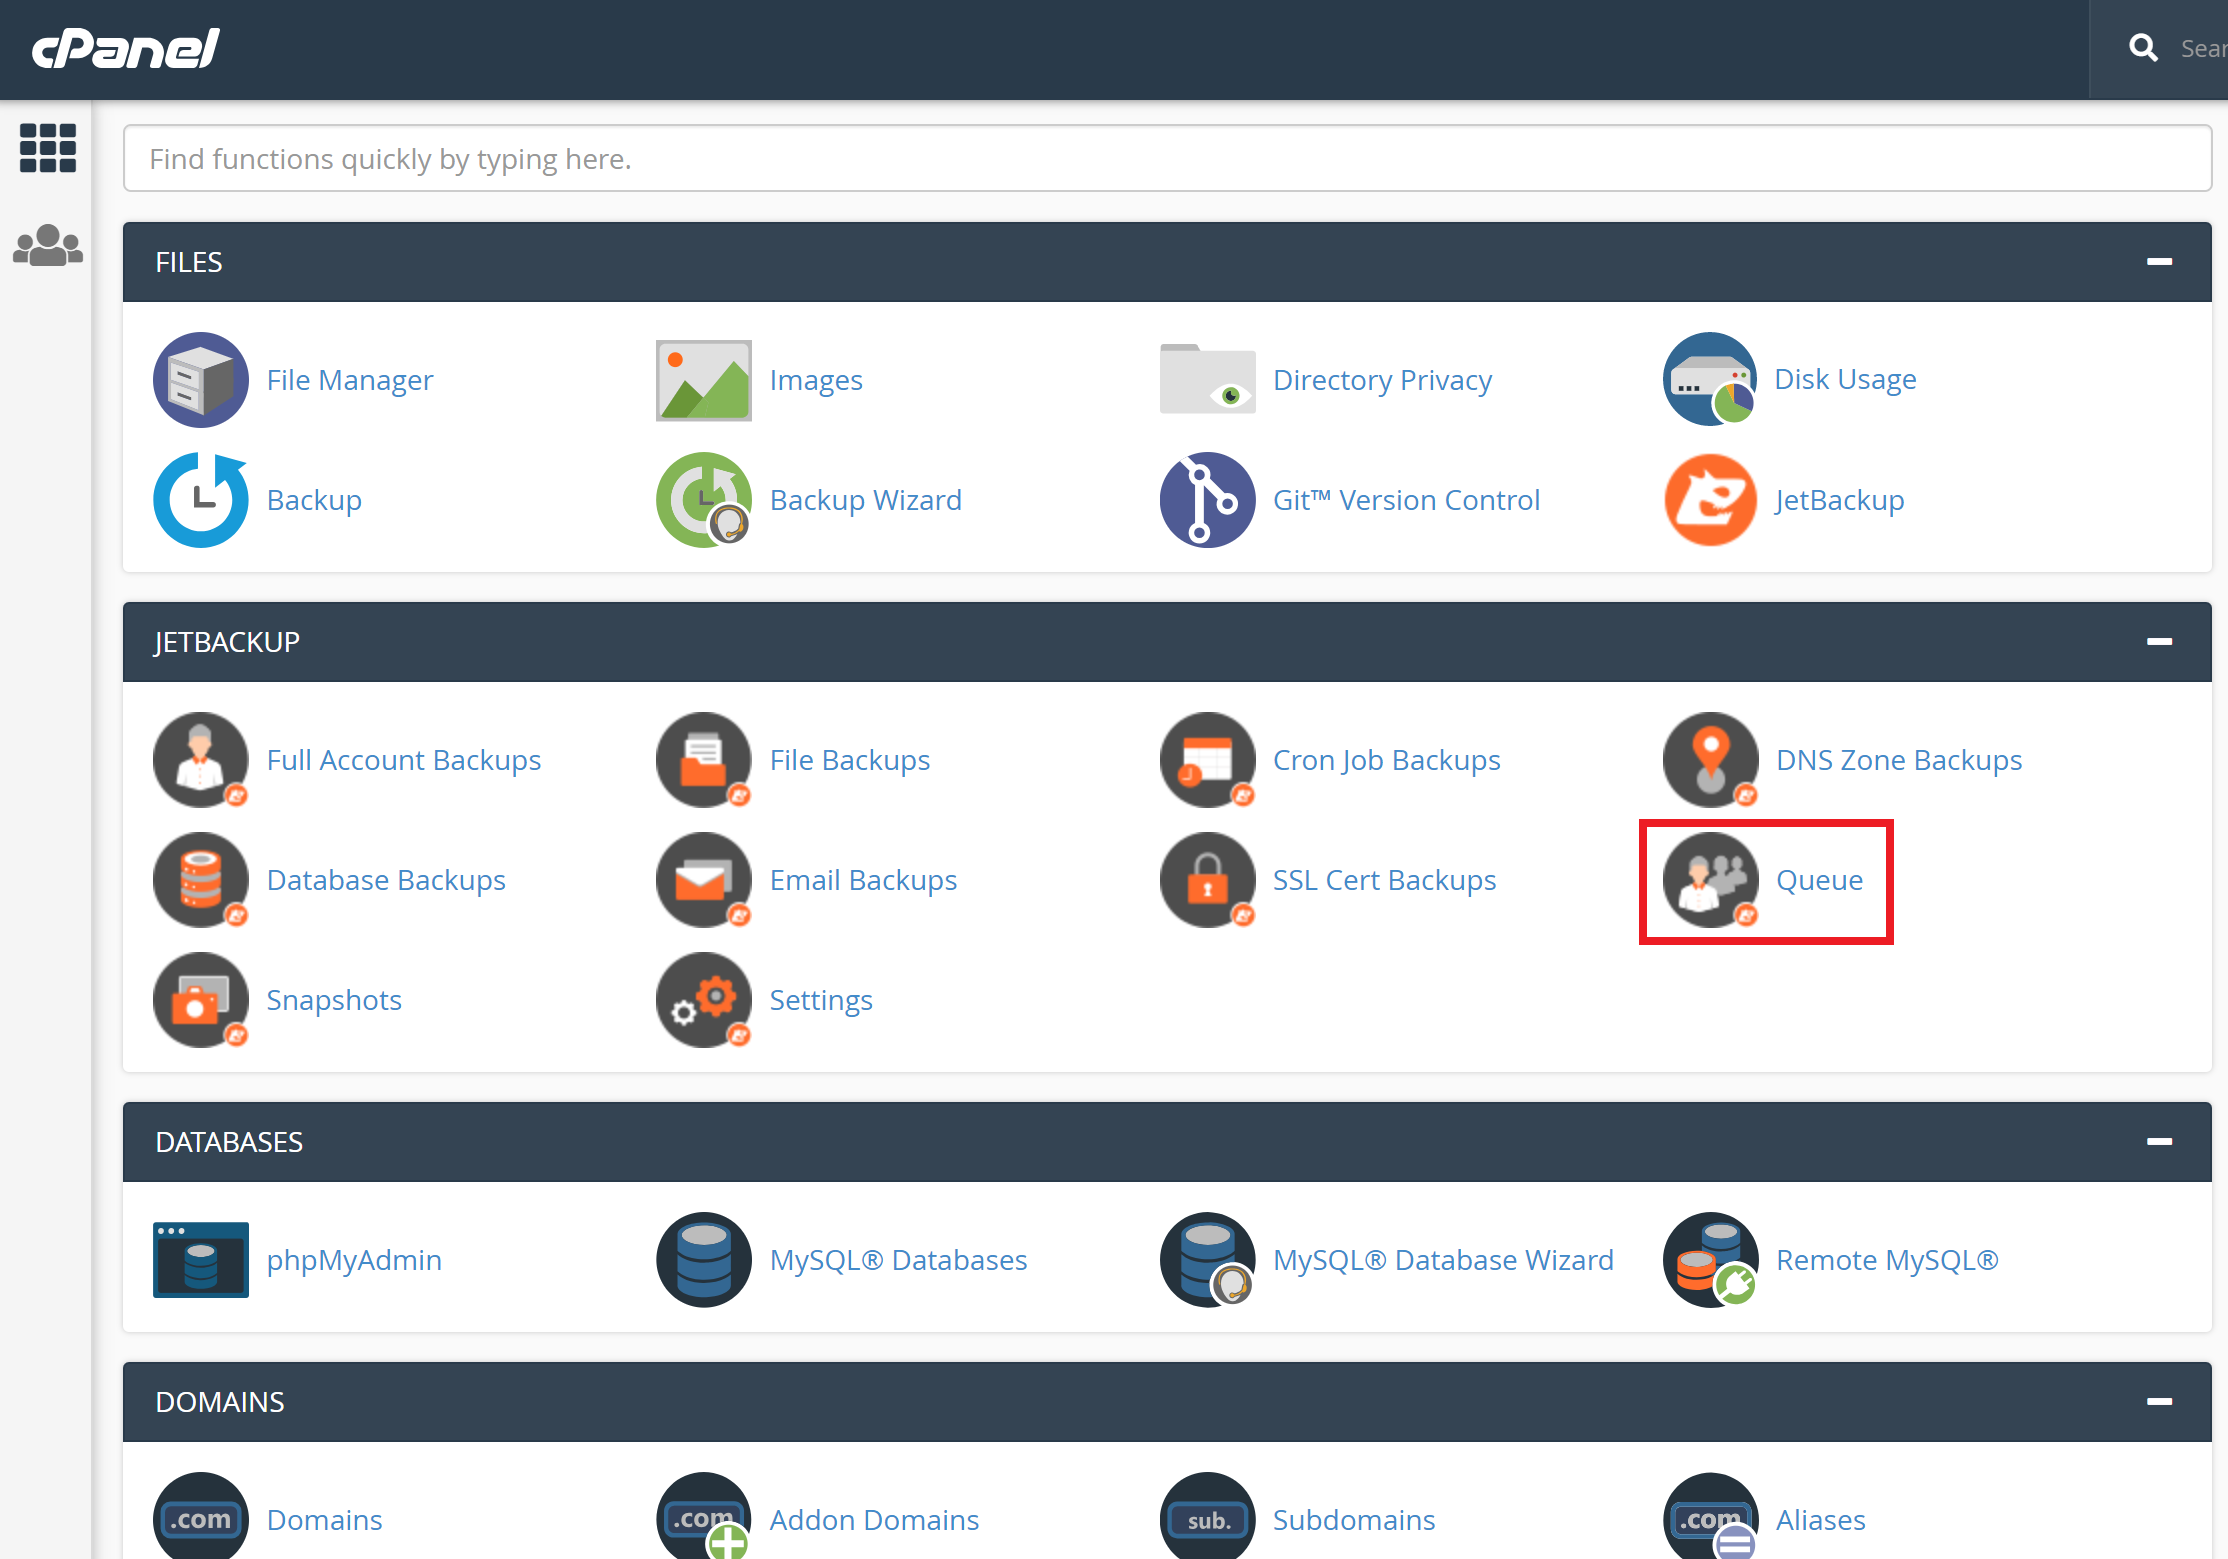

6) Once completed your data has now been restored to the selected snapshot.
Note that all backups and snapshots are stored off-site. As a result, restoration requests involve first downloading data from the backup cloud. If you are restoring a very large amount of data this can therefore take some time. Network conditions can also play a part in the time it takes. You should allow an average of about 10 to 20 minutes total restoration time per gigabyte of data. This is obviously an estimate and can be less or more, depending on network conditions.